
OAKVILLE EAVESTROUGH SERVICE
Eavestrough & Gutter Installation in Oakville
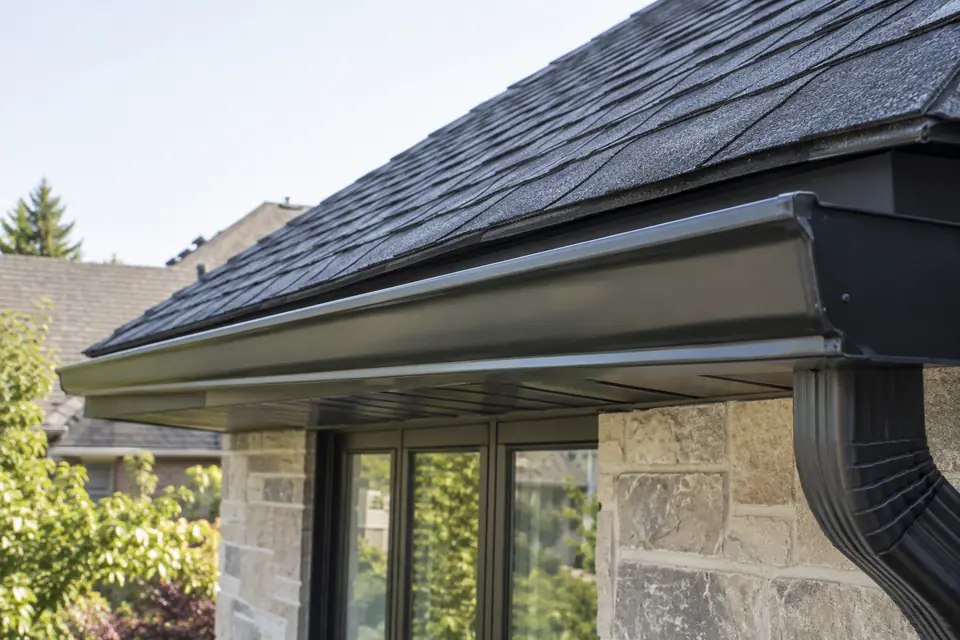
New eavestrough installation planned around the roof area, fascia, outlets, downspouts and the final discharge point—not only the visible aluminum run.

Direct answer
What should a new eavestrough installation include?
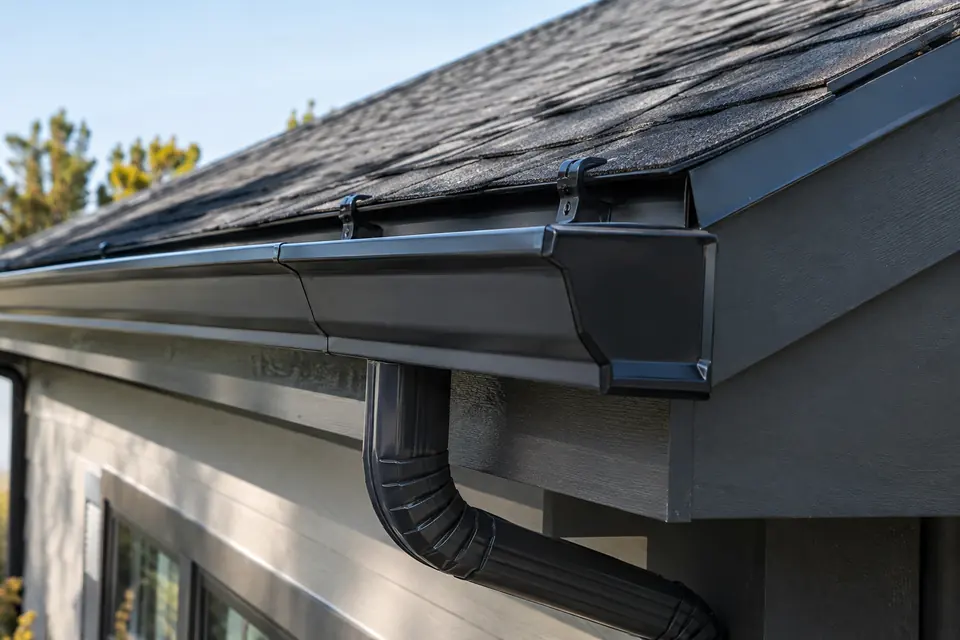
A complete installation scope should define trough profile, slope, hanger spacing, corners, end caps, outlets, downspout size and route, fascia condition, colour, access and where roof runoff will release at grade. New homes, additions, garages and changed rooflines each require their own measurements and water-path plan.
Scope before materials
What eavestrough installation should account for
Installation work can serve a new roof edge, an addition, a detached garage or a building that never had a complete collection system. The roof edge is only the collection point. A useful scope follows water through the trough, outlet and downspout, then confirms where that concentrated runoff is released. That connected approach helps avoid improving one component while leaving a restriction or poor discharge point untouched.
Property conditions can change the correct detail. Roof area, pitch, valleys, storeys, access, fascia condition, existing outlets, tree cover and the available route at grade all matter. The goal is not to force every property into one specification; it is to define a system that suits the roofline and the place where the water must go.
- Measured runs for the home, addition or garage
- Slope and hanger layout
- Corners, end caps and expansion-aware detailing
- Outlet positions and downspout routes
- Profile, colour and adjacent roofline finishes
- Splash pads, extensions and surface drainage
Conditions worth documenting
Why Oakville properties ask different questions
Roof concentration
Valleys, dormers and roof transitions can direct a large part of the roof area into a short trough run.
Attachment surface
The fascia and supporting material need suitable condition for secure attachment; new aluminum should not conceal failed support.
Final discharge
The downspout route must account for grade, hard surfaces, swales, landscaping, walking routes and property boundaries.
These conditions are observations, not a remote diagnosis. Photos and a clear description help prepare the visit, but final recommendations depend on what can be seen at the roof edge, behind loose sections where accessible, at outlets and along the discharge route.
Inspection priorities
What should be reviewed before defining the work
A practical review starts with the symptom or goal and works outward. It should distinguish a local component failure from a layout, attachment, capacity or drainage issue. That distinction matters because the narrowest appropriate repair can be very different from a replacement scope.
- Existing trough alignment and visible slope
- Corners, end caps, seams and outlets
- Hangers, fasteners and fascia interface
- Downspout dimensions, elbows and restrictions
- Splash pad, extension and surface-drainage route
- Access, storeys and protection of nearby finishes
Where access limits the initial review, that limitation should remain clear. A ground-level view can identify obvious sagging, staining or poor discharge, but it cannot always confirm fastener condition, joint preparation, concealed wood condition or the exact route through a blocked outlet.
Decisions that affect the result
Plan the details as one water-management system
Profile and capacity
Select the trough and outlet arrangement from roof area, pitch, valleys and concentrated flows—not appearance alone.
Outlet placement
Locate outlets where water can enter a clear downspout route without creating unnecessary corners or awkward discharge.
Material coordination
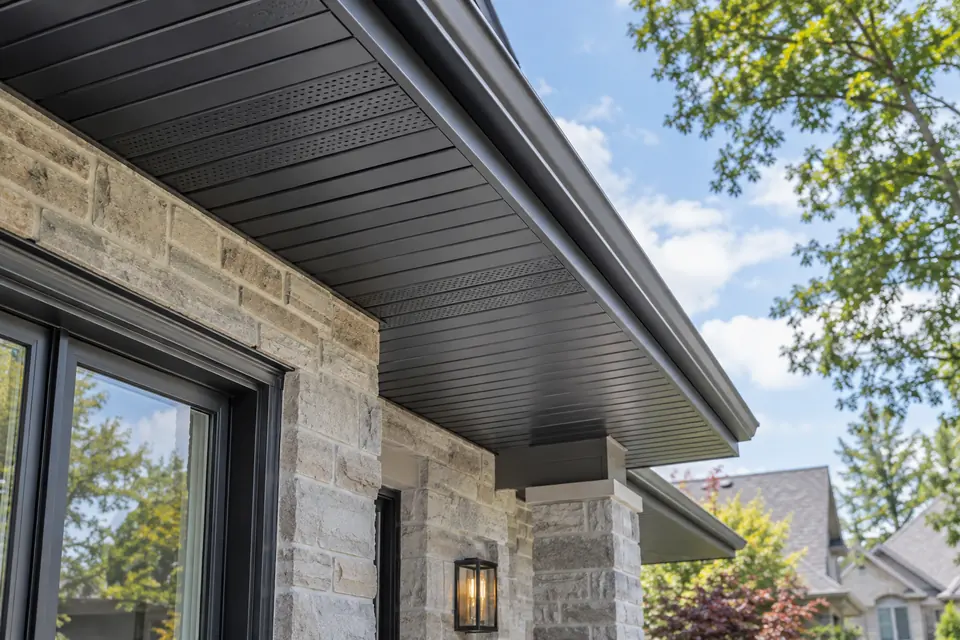
Coordinate eavestrough, downspout, soffit, fascia, capping and adjacent trim without hiding unsuitable underlying material.
Access and sequencing
Plan removal, preparation and installation around height, landscaping, entrances, driveways and other active areas.
None of these decisions should be treated as an isolated upgrade. A larger trough cannot correct an undersized or restricted outlet by itself. A new downspout cannot overcome a blocked route at grade. A fresh aluminum finish should not conceal supporting material that has lost the condition needed for secure attachment.
Oakville drainage context
Keep the final discharge point in the scope
The Town of Oakville explains that property owners are responsible for maintaining grading and surface drainage. Its guidance says downspouts should discharge onto splash pads or hard surfaces that direct water away from the house, and should not be extended to a property line or onto a neighbouring property. Existing swales and sheet-drainage paths also need to remain functional.
That guidance does not create one universal extension length for every home. The safe route depends on grade, hard surfaces, landscaping, walkways, driveways, property boundaries and the original drainage pattern. Work involving excavation, grading changes, the municipal right-of-way or other site alterations may require separate review, so those items should be identified before installation begins.
A clear service sequence
From property description to final water-path review
- Describe the roofline. Share the property type, storeys, affected elevation and what happens during rain.
- Review the collection point. Examine the trough, corners, attachment, fascia interface, outlets and visible roof concentrations.
- Follow the downspout. Check vertical routing, elbows, fasteners, restrictions and exposure to impact.
- Confirm discharge. Account for splash pads, extensions, hard surfaces, swales, grade and nearby boundaries.
- Define the narrowest complete scope. Separate repairable sections from broader system problems and related roofline work.
- Review the completed path. Confirm alignment, connections, secure components and the intended discharge route.
Budget and scheduling
What affects the cost of eavestrough installation
Cost is shaped by the actual scope rather than one universal rate. Relevant factors include measured linear footage, corners, end caps, outlets, downspouts, building height, access, removal, disposal, material profile, colour, roofline complexity and any related fascia, soffit or capping work. Commercial and multi-residential properties may also require lifts, protected work zones, phased scheduling and repeated building details.
Photos can help identify likely access and visible conditions, but they are not a substitute for measurements or an on-site review where the scope depends on concealed support, outlet placement or drainage at grade. A useful estimate should identify what is included, which related conditions are outside the proposed work and what could change the scope after closer inspection.
Maintenance after the work
After completion, visible alignment, outlets and discharge points should still be checked over time, particularly after leaf fall, freeze-thaw cycles and intense storms. Maintenance frequency should reflect tree coverage, roof valleys, nearby seeds and needles, exposure, guard type and what the outlets collect. No responsible maintenance plan should claim that every Oakville property follows the same calendar.
Proposal review
What a complete written scope should make clear
A proposal should identify the elevations and components being addressed, not simply name a general service. Measured runs, profile, colour, corners, outlets, downspouts, removal and disposal should be understandable before work begins. If guards, soffit, fascia, capping or drainage extensions are discussed, each related item should remain visible rather than being buried inside a vague roofline allowance.
The document should also define the boundaries of the inspection. Conditions behind existing aluminum or inside a closed outlet may not be fully visible until removal begins. A clear scope explains how those discoveries will be handled and avoids presenting unseen material as already confirmed. For a commercial or multi-residential property, the building, block, elevation, access equipment and intended sequence should be equally clear.
Comparing proposals is easier when the assumptions match. Confirm whether tax, access, disposal, colour, guards and lower downspout work are included; whether retained sections must connect to the new work; and which surface-drainage items remain outside the eavestrough scope. A smaller quotation is not automatically the narrower risk if it describes the complete water path. Likewise, a broad package is not automatically better if it does not explain why each component is needed.
Before scheduling, make space for access, identify gates and pets, discuss vehicles or customer entrances, and point out known underground, electrical or landscaping concerns. The finished review should focus on alignment, secure visible connections, outlet transitions, the vertical route and the intended discharge location. That record gives the owner a practical baseline for future observation and maintenance.
Questions homeowners ask
eavestrough installation FAQs
Can the work be estimated from photos?
Photos can help identify the property, storeys, affected elevation and visible condition, but measurements, concealed support and drainage details may still require a site review.
Does every old system need replacement?
No. Localized repair may be sensible when surrounding material, attachment and layout remain serviceable. Repeated or widespread failures can support a broader scope.
Is a larger eavestrough always better?
No. Capacity depends on roof area, pitch, valleys, outlets and downspouts. A larger profile should solve a documented need and fit the roofline.
How should a downspout end?
The route should release water away from the building without obstructing a walkway, causing icing or directing concentrated flow to a property line or neighbouring land.
Request an estimate
Tell Us About the Roofline
Include the property type, number of storeys, affected elevation, what you are noticing and any useful photos. Budget is not required to begin the conversation.